
A Clear, Step-by-Step View of the Service and Results
If you are thinking about headlight restoration, you can expect a careful cleaning, sanding, polishing, and sealing process that helps cloudy headlights look clearer and shine brighter. A professional will inspect the lenses first, check how bad the oxidation is, and choose the right method for your car. The goal is better light output, safer night driving, and a cleaner look without replacing the whole headlight.
Quick Answer
A professional headlight restoration is usually simple for the car owner. You bring in the vehicle, the headlights are checked, the surface damage is treated, and a protective finish is added at the end. The work focuses on the outside lens in most cases. If the lens is only faded, yellow, or hazy, restoration often helps a lot. If the lens is cracked or has damage inside, replacement may be the better choice.
What You Need Before Starting
Before the job starts, it helps to know what shape your headlights are in. A technician will usually look for yellowing, rough texture, peeling clear coat, and weak light output. It also helps to share if you have tried a store kit before. Some DIY kits leave uneven spots that change how the work is done later. If your vehicle has moisture inside the assembly, that may point to a different problem outside normal headlight restoration.
You may also want to ask a few basic questions before the service begins. This can help you feel prepared and know what results are realistic. In the auto care world, clear headlights are a common safety and appearance issue, so a good shop should be able to explain the process in plain language.
Step-by-Step Process
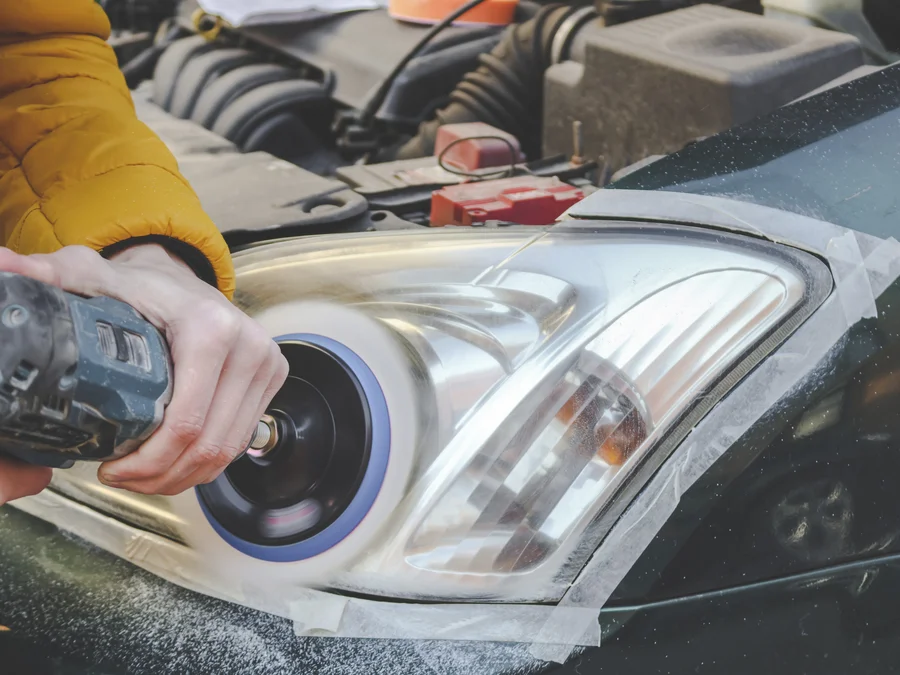
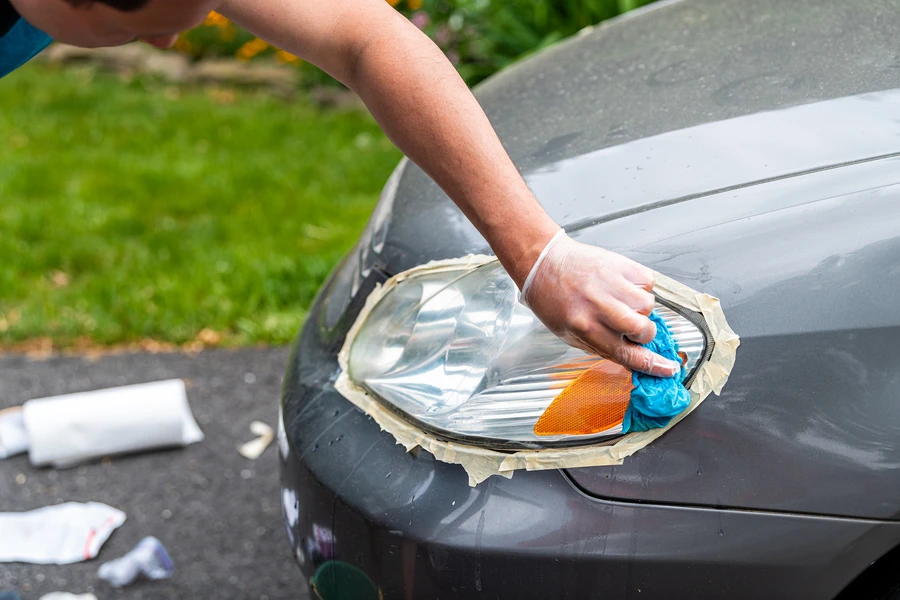
Most professional headlight restoration jobs follow the same basic path. The exact products may change, but the steps are often close to this:
- The headlights are inspected for haze, yellowing, cracks, and deep damage.
- The area around the lights is masked off to protect the paint.
- The lens is cleaned to remove dirt, bugs, wax, and road film.
- The oxidized layer is sanded away in stages with finer grits.
- The lens is polished to bring back clarity and smoothness.
- A sealant or UV coating is applied to help slow future fading.
- The final result is checked in different light for even clarity.
This process matters because oxidation sits on the outer layer of the lens. If that layer is not fully removed, the cloudiness can come back fast. If the lens is over-sanded or not sealed well, the finish may not last long. That is why professional tools and steady technique often make a big difference.
Common Mistakes to Avoid
Many people try to save time with a quick wipe-on fix from a store. Sometimes that gives a short-term shine, but the haze often returns. Another common mistake is using harsh products that scratch the lens. Some people also skip the protective top layer after sanding and polishing. The headlights may look nice for a few days, then start fading again in the sun.
- Do not judge the lens only when it is wet.
- Do not use rough pads without the right sanding steps.
- Do not expect restoration to fix cracks inside the housing.
- Do not skip UV protection after polishing.
It is also smart not to wait too long. Mild oxidation is easier to correct than heavy surface breakdown. When the damage gets deeper, the lens may not clear up as much as you hope.
When to Call a Professional
You should call a professional when the headlights look yellow, dull, or hard to see through, especially if night driving feels less safe. Professional help is also a good idea if a DIY kit did not work, if the lens has patchy spots, or if one light looks much worse than the other. A pro can tell if the problem is simple oxidation or something more serious.
There are also times when restoration may not be enough. If the headlight lens is cracked, if water is trapped inside, or if the inside reflector is damaged, the full assembly may need more than surface work. A trained technician can spot that early and help you avoid wasting money on the wrong fix.
What Results Should You Expect
Most drivers notice a cleaner look right away. The lens often becomes clearer, the beams look brighter, and the front of the car looks newer. Results depend on how bad the damage was at the start. Light to medium haze often responds very well. Heavy damage can still improve, but it may not look brand new.
You should also expect the finish to need care over time. Sun, heat, road salt, and car washes can wear down the protective layer. That is normal. A quality sealant helps, but no lens stays perfect forever. Good upkeep helps the restored surface last longer.
Final Recommendation
If your headlights are foggy or yellow, headlight restoration is often a smart first step before buying new parts. It can improve safety, appearance, and driving comfort with less cost and less waste than full replacement in many cases. The key is having realistic expectations and choosing someone who follows a full prep, correction, and protection process instead of a quick cosmetic fix.
Get Help With Your Next Step
If you are in Goose Creek, SC, we can help you figure out if restoration is the right move. At Clean Xtreme Mobile Detail Service, we check the lens condition, explain the options clearly, and recommend the fix that fits your vehicle. Call us at (843) 224-1438 if you want a simple next step or have questions about your headlights.